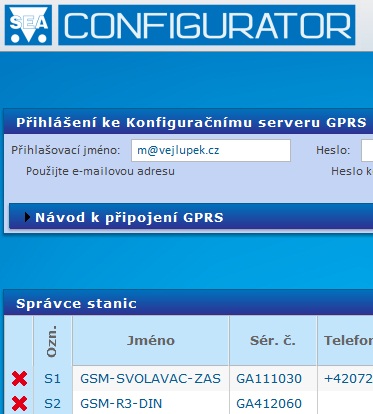
GSM-CONFIGURATOR
SEA product configurator via USB or GPRS.
Download current SEA Configurator v1.12.2.11

- Product description
- Support
Application to PC for configuring SEA products s r.o. using a USB port or GPRS connection.
If you do not need to configure remotely using GPRS, cancel the GPRS service with your operator. If you use GPRS remotely, make sure you have an appropriate tariff with the operator (a tariff that charges for the amount of data not for a connection).
Therefore, we recommend changing GPRS billing to SIM cards purchased in July 2012 or later, according to the amount of data transferred, not by time.
For pre-purchased cards, billing based on the volume of data transferred is likely to be set.
SeaConfigurator is free and unlimited. You can download it here. Support. Old versions of SeaConfigurator are available here. Support.
Requirements
The application uses sw Adobe AIR, which is part of the installation package.
Supported devices
- GSM-SP11
- GSM-SP11B
- GSM-R3-DINB
- GSM-R3-ZASB
- GSM-SVOLAVAC-LIC
- GSM-MODBUS485
- GSM-R4-DINB
- GSM-R4-DIN
- GSM-R5-DIN
- GSM-R5-T
- GSM-R5-TI
- GSM-R5-AA
- GSM-R5-ZAS
- GSM-R5-ZAS-2IN
- GSM-R5-ZAS-2A
- GSM-R5-ZAS-3OUT
- GSM-R5-ZAS-5IN
| SEA Configurator - Installer | 1.12.2.11 | 25 MB |
  1.12.2.11
    + Can turn on remembering of inputs after power off
    + Can disable users and groups according to a weekly schedule
    * GSM-R5 firmware version 3.296

  1.12.2.10
    + Can specify bits in MODBUS registers

  1.12.2.8
    + Added devices: LTE-R5-DIN, LTE-R5-DINW

  1.12.2.7
    + GSM-SP11 firmware 2.13.16

  1.12.2.6
    * Moved locks to the station's tab
    + GSM-SP11 firmware 2.13.14

  1.12.2.5
    * Firmware 2.13.13 for GSM-SP11

  1.12.2.4
    * Can connect through CML. Can add devices using QR code.
| ||
Installation of SEA Configurator
1. Close SEA Configurator, if the previous version is currently running.
2. Disconnect the device from your computer, if it is connected.
3. Run the installer SEA_Configurator_Vx.x.x.exe.
4. If asked, select the English language and click OK.
5. Click next.
6. Read the licence conditions, check the “I accept the terms” box, and click Next.
7. The boxes are checked so that you do not need to change it. Click Next.
8. It is recommended not to change the “Destination folder”. Click Install.
9. Click Finish. The SEA Configurator will run.
10. Connect the device to your computer via USB.
11. SEA Configurator will find the device.
After the installation, a SEA icon appears in the system notification area (next to clocks).
It it’s red, then probably the previous version couldn’t be uninstalled properly.
To fix it, perform the following steps:
1. Restart the computer
2. Install SeaConfigurator according to the instructions above.
